Small animation of opening door, landscape layout Quixel megascans
In this article, you can learn to make small opening animations, landscape layout. There are also some good plug-ins to speed up the workflow, and the method of grass random number distribution.
Modeling is very time and energy consuming and requires a vast amount of knowledge of various functions. Because design tasks may involve modeling, this article is written based on the assumption that there are already models available for use.
Let’s first download and import the SketchUp plugin (SketchUp_Importer_v0.21.1_Windows_x64).
https://github.com/arindam-m/pyslapi/releases/tag/0.21
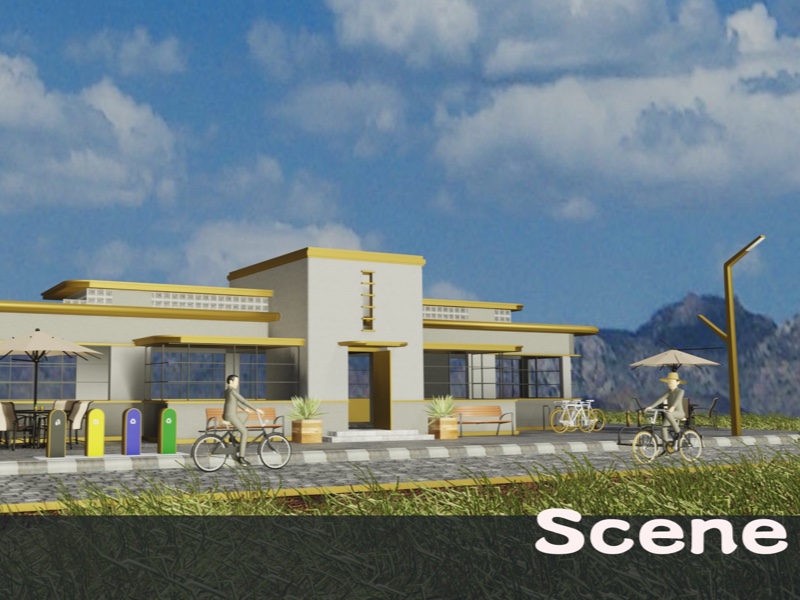
On the 3D warehouse website, find buildings and scenes of your preference, for example a building surrounded by sidewalks. Modern cities have people oriented street spaces, which are more comfortable to live in.
https://3dwarehouse.sketchup.com/model/fd46620a-4ec4-41e1-807c-0e29d0cc7389/ART-DECO?tab=general
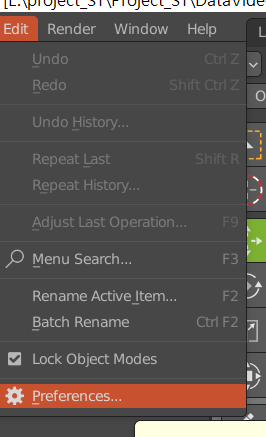

On the toolbar, click Edit, then on the Preferences window, click Add-ons → Install and select SketchUp_Importer_v0.21.1_Windows_x64.
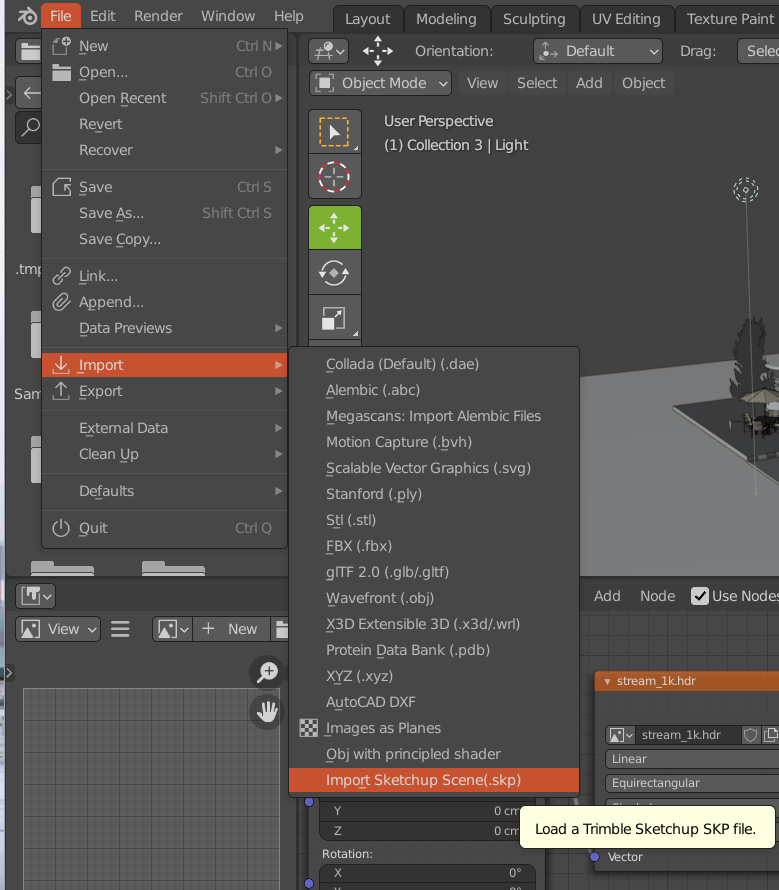
In Blender, click File → Import → Import SketchUp Scene (.skp). Sometimes file import may fail, you can try exporting the obj file in SketchUp again then re-import to Blender.
Before importing, select Collection in the outliner pane at the top right corner of the interface. This allows the imported object to be placed in Collection for easy classification.
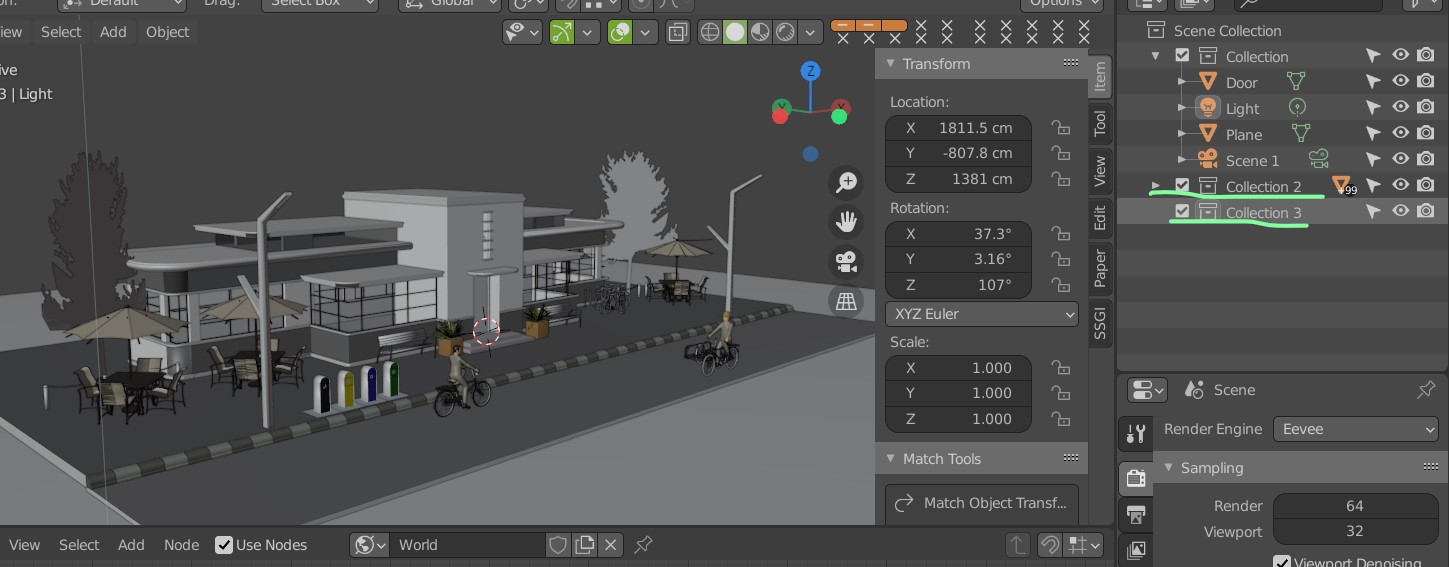
To facilitate your design, first add an empty object which is simply a cube outline with no real objects.

Press the CTRL button and right click the mouse at the same time to bulk select the items (highlighted in blue), press the SHIFT button and left click the empty cube. An orange object is a parent object which is at the top of the hierarchy. Press CTRL+P to set parent/child relations.


Let’s now link materials to Blender. In the diagram shown below is the material design software. First go to the Quixel Megascans website and download the plugin for linking to Blender (https://help.quixel.com/hc/en-us/articles/360007480698).
Blender version 2.83 or higher is supported. We need to sign up, log in, and search for free models, then set the Export Target to Blender.

Set the Export Target to Blender.
Most of the materials are paid services but you can search for free items. After you’ve found the materials that you need, click download then an Export prompt will appear. If export fails, then click “Go to Files” to manually import the files.

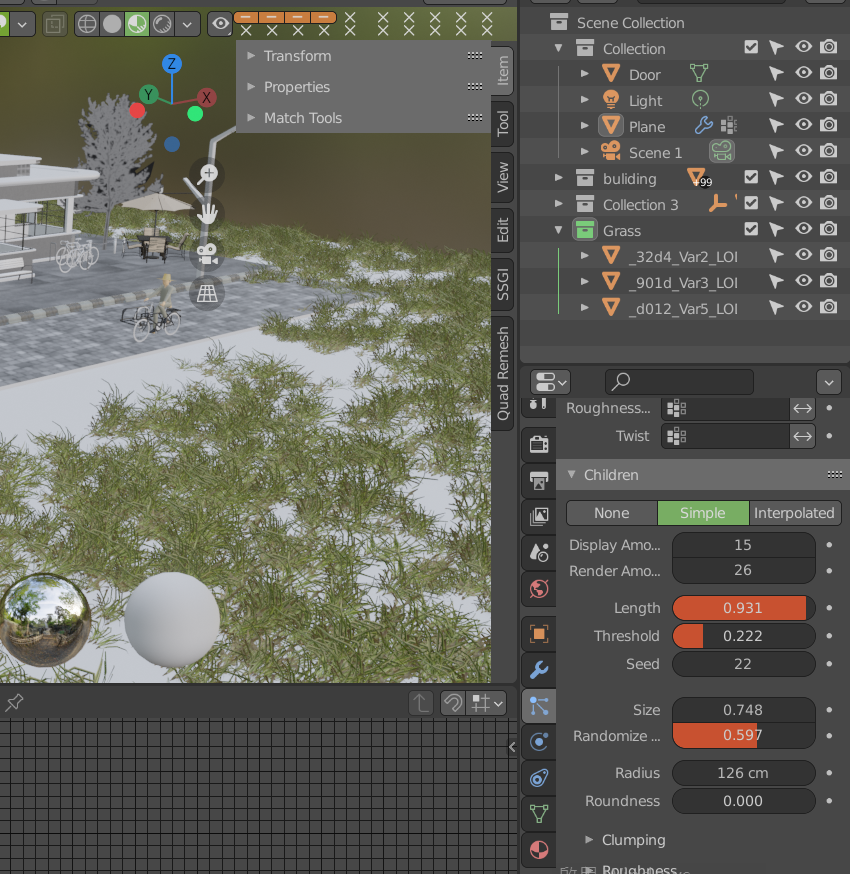
The imported 3D plants should be placed under Collection and renamed to Grass.
Select Particle and click ‘+’. Click Hair and render as Collection. Finally set Instance Collection to Grass and Children to Randomize to spread them randomly.

Select a plane object, refine the Edge a few times then go to Weight Paint to set the object interaction mode after the particles appear.

Blue color indicates low weight, click Invert to turn it into red which indicates the highest weight.

The paint strength is kept at one but the weight is reduced to zero, then draw the architecture in the center. The central weights should turn blue.

Click Plane, then uncollapse Vertex Groups and assign Group to Density. The Grass in the center of the Particles automatically generated previously should disappear.

Tree objects can be found on other websites. Next is about positioning objects. When objects are scattered, you can first create an empty object and select objects to be assigned to children, then press CTRL+P to put them in the empty object (parent).
------------------------
Animate the door opening
As for the door handle, while in the edit mode, press L to select linked mesh objects, and press P to deselect.
Return to object mode, select the door and window objects and right click the object center. Press CTRL + . to enable the object center move and press G to move.
Press CTRL to enable Snap. First set the Snap mode to point snap and press CTRL + . to exit the object center edit mode.
Select the door then the rotate tool, and use the timeline to move one frame.
Select the Rotation pane and press I to set the key frame or press I in 3D View and select rotation.
Move the timeline to frame 30. Every second of video is usually shot at 24 - 30 frames per second. By law, the door should open outwards to approximately 90 degrees to facilitate escape from inside of the house.

When using the rotate tool to rotate, press the CTRL button at the same time to increment or decrement in whole numbers. Release the CTRL button after adjusting, then press I after clicking the image to set the key for activating rotation. You should be able to see movements of the door by dragging the timeline laterally.
Click View → Cameras, then on 3D View, open the desired image. Press CTRL + ALT + 0 to select the camera area. (Remember to select the camera and not other objects which could be erroneously selected) For example, an image with a selected camera area is shown in the diagram below.

